 |
| 8"x10" acrylic painting on stretched canvas |
Friday, November 27, 2015

Monday, November 9, 2015
A walk in the rain
Taylor wanted a painting for her room, she chose one at the store but wanted Denver in the background. So I helped her out with this painting.


Friday, September 25, 2015

Thursday, September 24, 2015
Well, that one a week thing didn't work out, did it:)
 | |||
| Birds on a Wire |
Sunday, June 29, 2014



Thursday, June 26, 2014
Ugly Light Fixture Fix
When we moved into this house the kitchen was awful. But so was the rest of the house, so... Getting money together for a kitchen remodel is daunting so I've just tried to make it more agreeable. One of the things I've hated from the beginning has been the light fixture. It's white and brass, shiny brass, with upside down lampshades on 5 octopus arms, sooo not my style. It probably wasn't that attractive from the beginning but after hanging for years without ever being cleaned, it was far from attractive.
 But, it did have the benefit of putting out a lot of light, and a fixture I could afford would probably not put out as much light. The other day it started to eat away at me, this light, in my kitchen, mocking me. And I decided on a solution, I would do a lamp shade fixture. All I would have to do is buy a swag lamp shade kit, some other stuff would happen and I would have a lamp shade over my table that put out lots of light and I would love it! In my head this fix was going to be inexpensive, easy, and elegant. Alas, these things always go so much easier in my head than they do in real life. Lamp shades are really expensive for you what you get and the kit itself was more than I thought it would be. And then there would be rewiring of something, either at the ceiling, because the part where the electricity comes out of the ceiling is not in a convenient place. So I went back to the drawing board and decided that maybe I could buy a lamp shade that just fit over, or under or maybe sideways on my existing light fixture. After doing a bit of googling, I found a lampshade that might work, at Ikea. And with a little modifying it did work.
The lamp shade came in a box with some assembly required, Ikea, remember:) The top and bottom are separate and the fabric of the shade clips onto the frame. The idea was to have the shade rest on the existing light fixture, so we didn't lose any light, but it looked more attractive.
 To begin I took the fixture down, and cleaned it up a bit. We also took the bulbs out while we futzed with it.


 It worked! The light is more focused and not as bright as it was before, but if you don't look under the lampshade the end result is a lot more attractive than it was before. Although it does need to be moved over a few inches to hit the middle of the table...
It really helped the whole kitchen look better.
 Now about that floor...
The lamp shade came in a box with some assembly required, Ikea, remember:) The top and bottom are separate and the fabric of the shade clips onto the frame. The idea was to have the shade rest on the existing light fixture, so we didn't lose any light, but it looked more attractive.
The next step was figuring out how to get the cord to come out the top of the shade. After some discussion we cut the frame of lamp shade so the cord would go through the middle as well as the outer ring of the lamp shade. That meant cutting the center part as well as the top ring. Not rewiring the lamp was the priority here. A hack saw worked to make these 2 cuts.
After making the cuts we put the cloth on the frame of the lamp, this took both of us to accomplish, so no pics of it happening. When we were done the shade balanced on top of the fixture. It can be knocked a little bit off center, But a little nudge fixes it.
It really helped the whole kitchen look better.
Week number 9
Sunday, June 15, 2014

Tuesday, June 10, 2014

Monday, June 2, 2014
Week Number 6

Another painting inspired by the Hudson Gardens. White Waterlilies, an acrylic painting on canvas, 20 x 20".
Monday, May 26, 2014
Week Number 5

Sunday, May 18, 2014
Week Number 4

Lucas at about the age of 3, sitting still for once. This is an acrylic painting on an 24 x 18" canvas.
Sunday, May 11, 2014

Sunday, May 4, 2014
Week Number 2

Monday, April 28, 2014
It's my birthday!
And since it's my birthday, I've been thinking a bit about this blog and what I want to do when I grow up. When I read crafting blogs I realize that I've done a lot of the projects on those blogs and I should be updating my blog so that I can remember the things we've done here. The other thing I would like to do is float my artwork out there a bit more. I also like to show off the things we've done to the house. And there might still be stories about the kids, but they are older now and might object. Well, then there is the pictures... I guess this is just a warning that I will be posting more and I hope you read it and enjoy:)
Week number 1....Painting of the Week
I want to be inspired to produce a painting each week. We'll see if that happens, it might end up be a painting every 2 weeks. For now I'm going to start with the paintings I've already done, because I'm lazy like that.
Week 1. This is a painting I did from a picture that I took at the balloon festival at Chatfield State Park a few years ago. The painting is 11x14", acrylic, on canvas.

Week 1. This is a painting I did from a picture that I took at the balloon festival at Chatfield State Park a few years ago. The painting is 11x14", acrylic, on canvas.
Monday, July 1, 2013
The Hallway


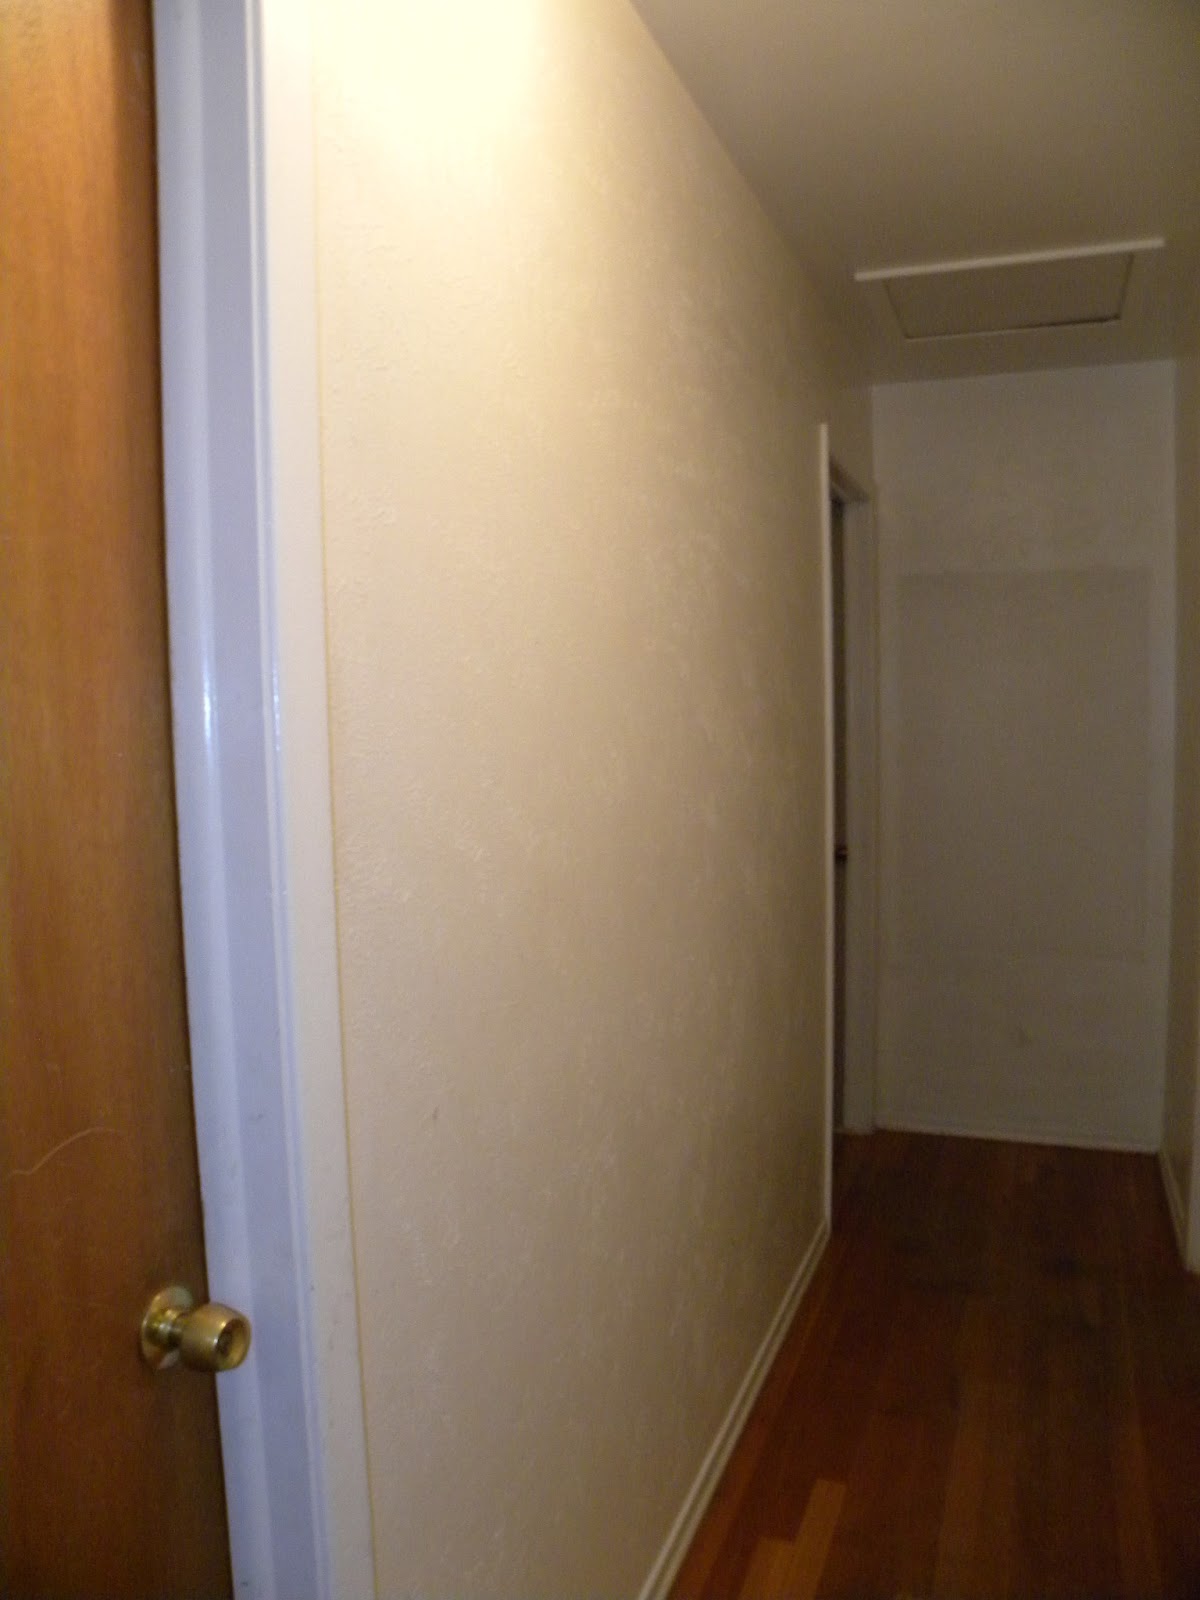
After taking out the ugly shag carpeting, the hall looked about 100% better. But a little too blah for me. After thinking about it for a while, just about 2 years, I realized I wanted a red hallway. Sooo....

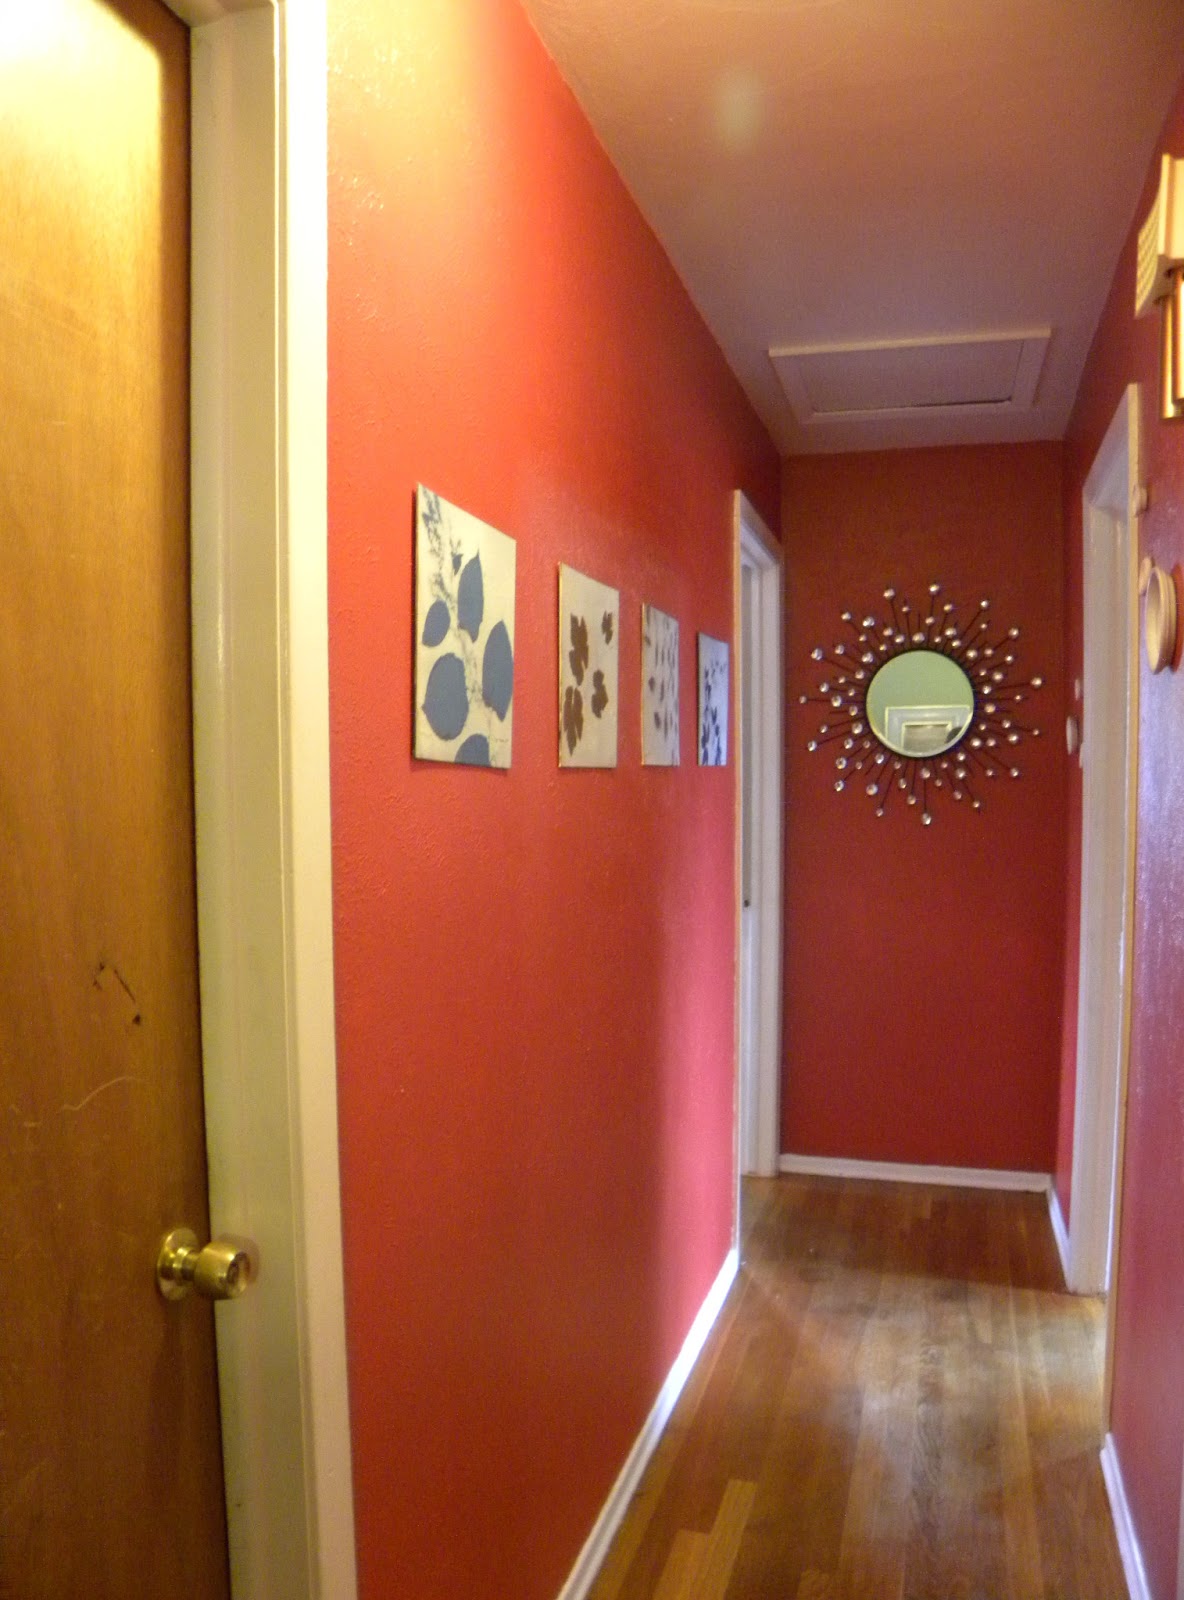
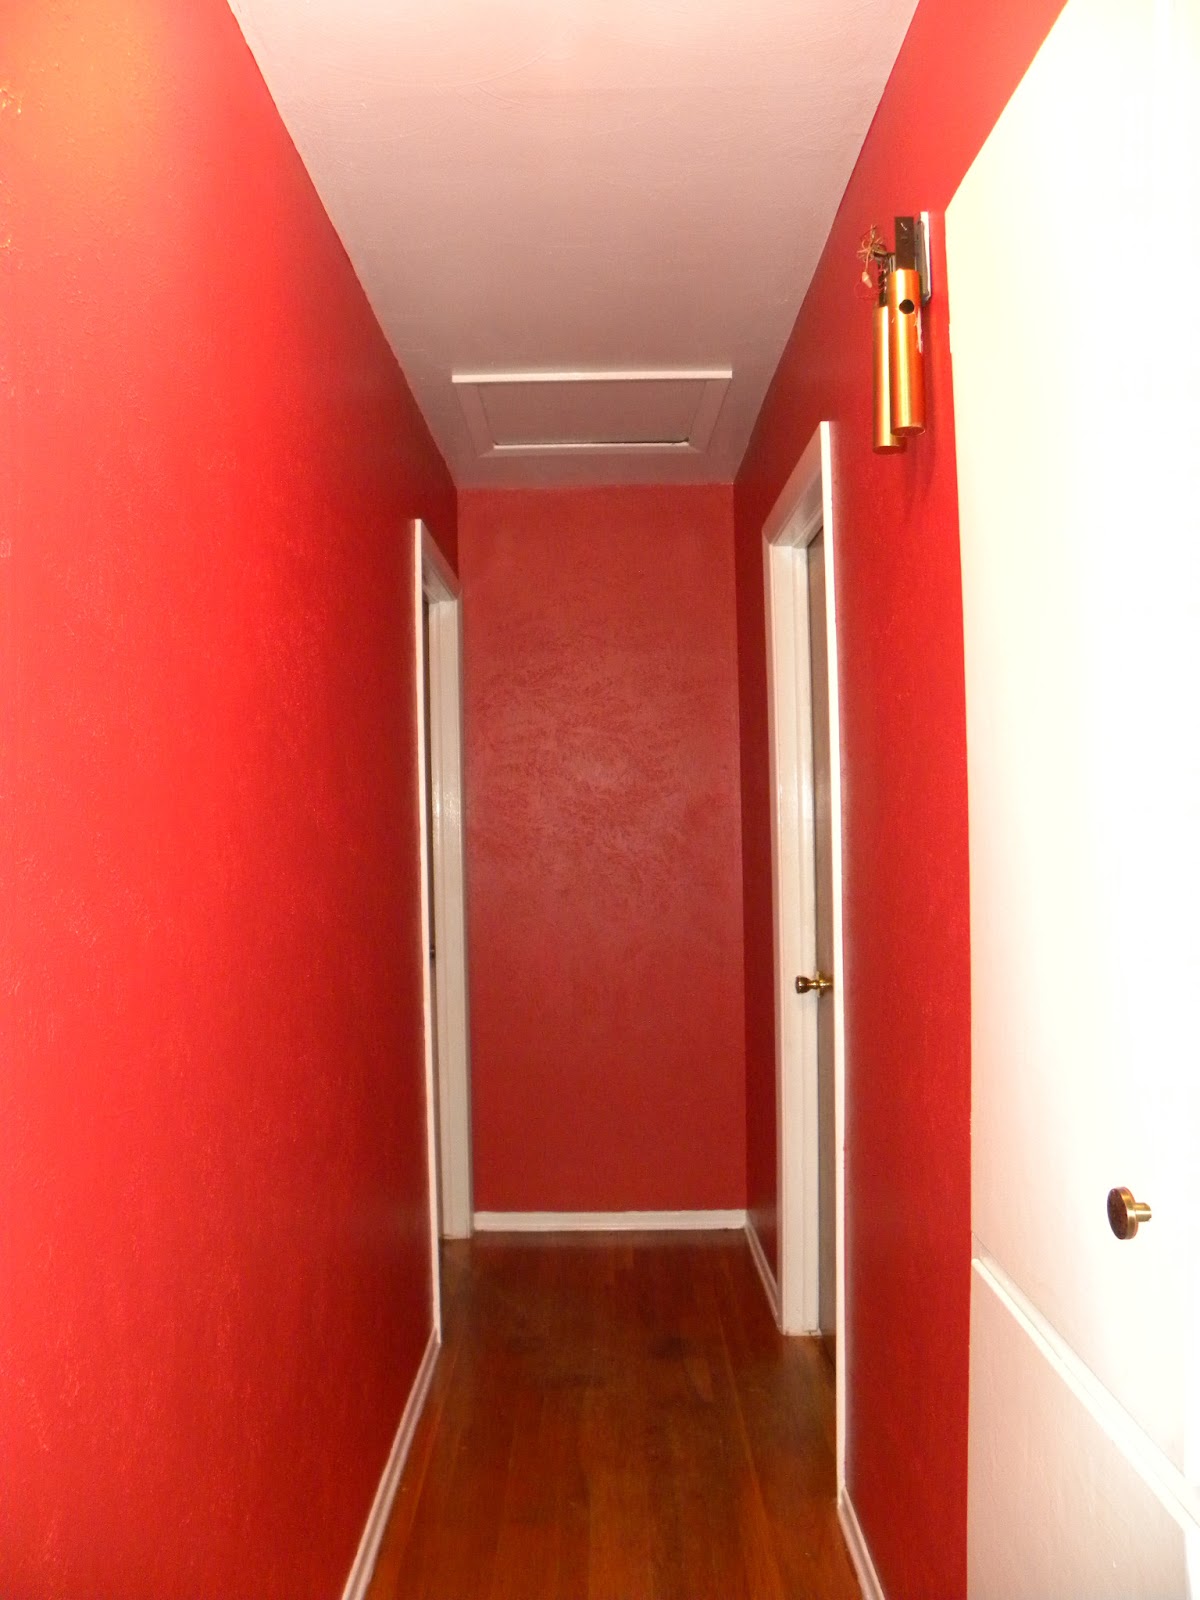
I chose the color "Lady in Red".


I love my red hallway. I think it turned out great. The white trim runs throughout the house, tying everything together. But all the white also adds a nice contrast to the dark red in the hall. The sparkly mirror in the back is my favorite thing, after the red color.






Thursday, December 27, 2012
Zendoodle, Zentangle, Tangle, Doodle, Whatever You Want to Call Them
Recently, thanks to Pinterest I've discovered this form of art. It takes me back to high school and doodling to stave off boredom. The first one I did was a scribble with different things drawn inside the scribble. The second is all about the circles and then I got interested in adding animals to the design.


Saturday, December 22, 2012
Holiday Decoration


Subscribe to:
Posts (Atom)